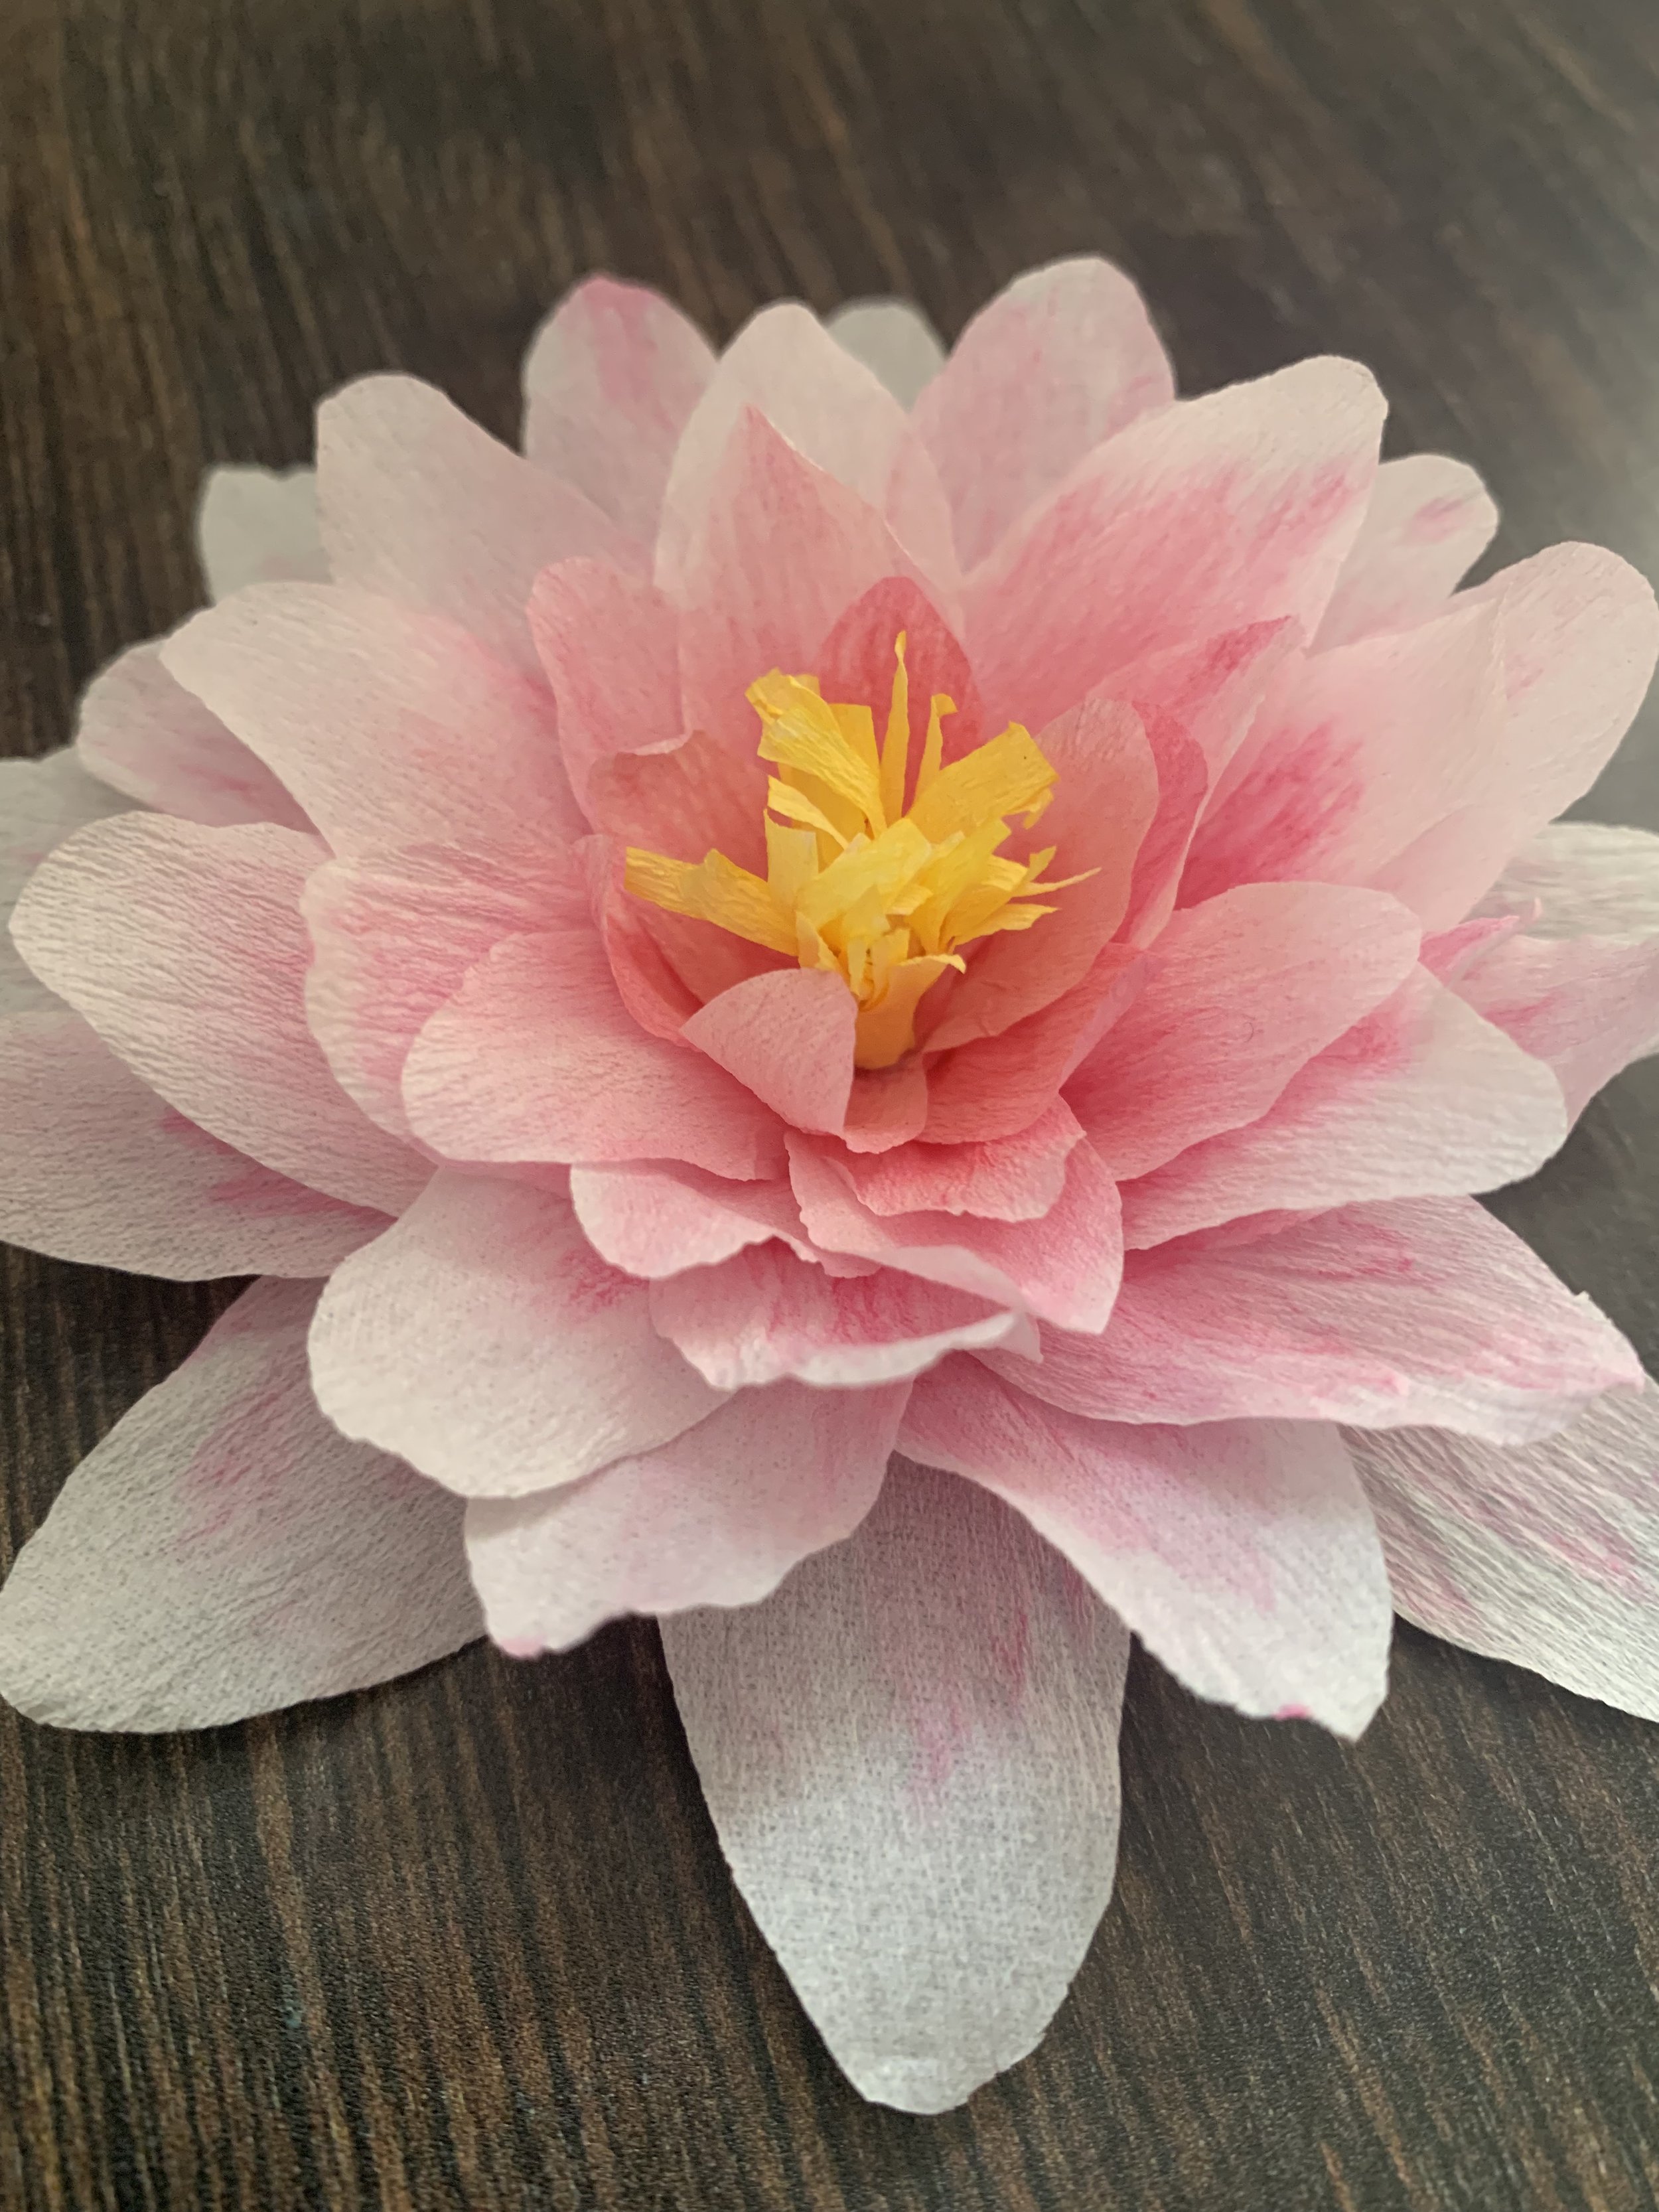
While planning the photoshoot for our Summer 2022 Craftpod, we wanted to include water lilies and lily pads. However, they weren’t quite in season so we had to improvise. We found giant ivy leaves and cut them into a lily pad shape, and for the flowers, we had to work out how to make some! We were really happy with how they turned out and so we thought we’d share it as a tutorial.
What you will need:
Crepe paper
Watercolour paints
Paintbrush
PVA glue
Scissors
A few pieces of card
A printer to print your pattern
Cutting out the petals
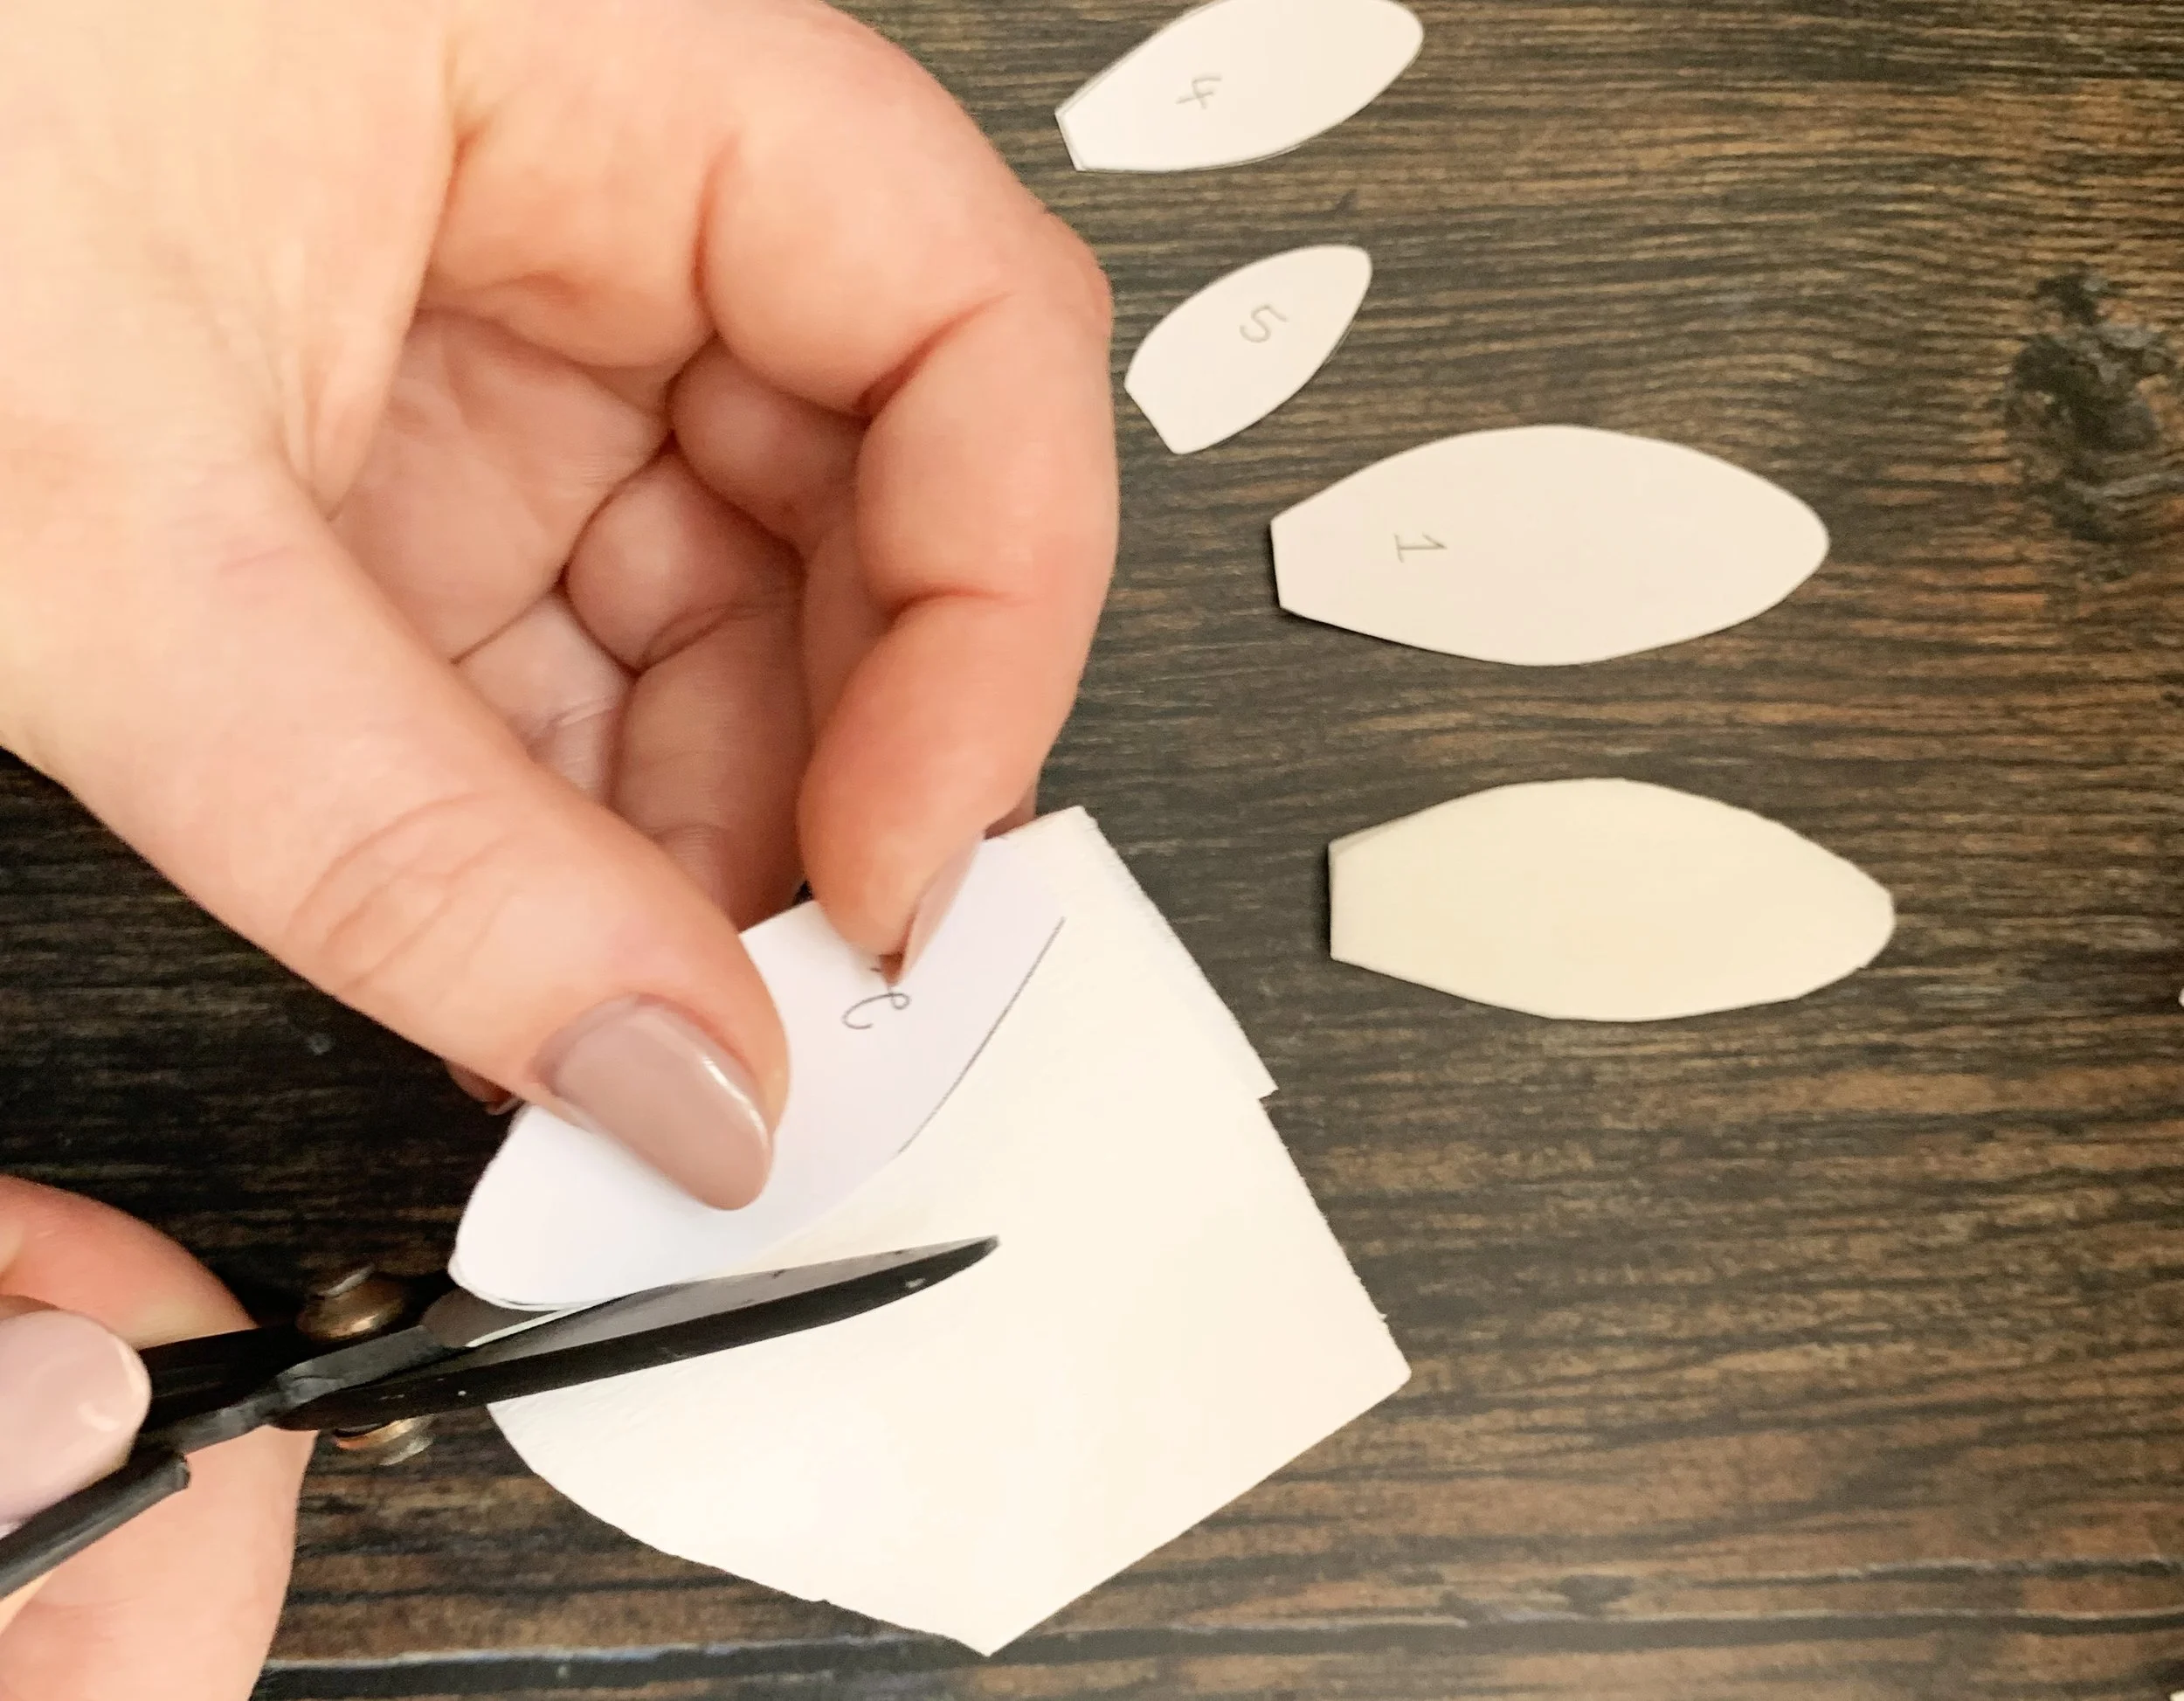
First, cut out each piece from your pattern. Then layer up your crepe paper so you can cut a few pieces at a time. Place your pattern over the folded paper and cut around it. Do this with each piece, so that you have 10 pieces cut of each size. You’ll only need 8 of each size but it’s useful to have extras in case any of them break.
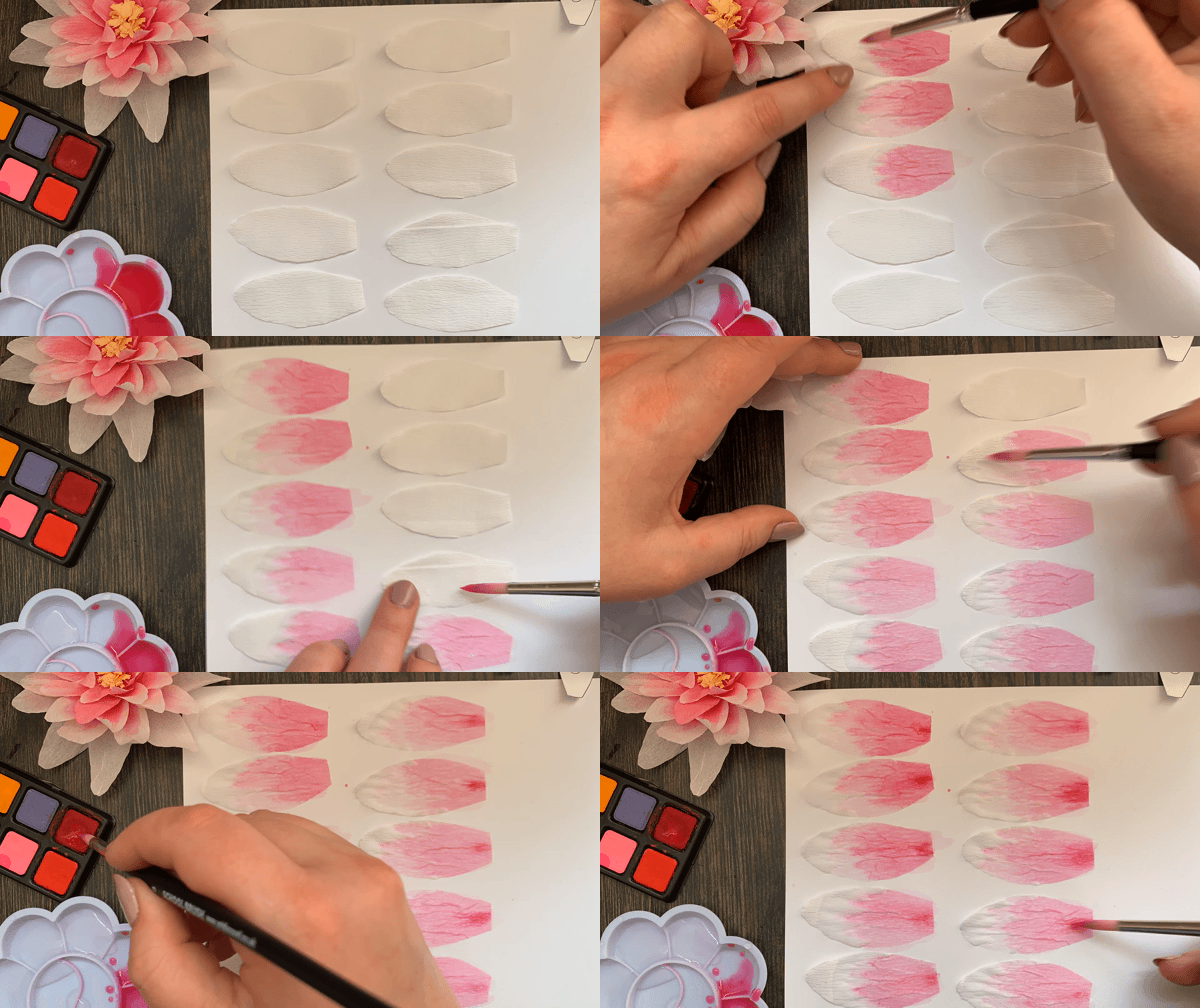
Lay each petal out on a piece of card. Add on some pink watercolour paint as shown below. Keep the paint towards the base (flat end) of each petal. For the smaller pieces, for the centre of your water lily, add a bit more paint as they tend to be darker towards the middle.
You will also need a strip of crepe paper that measures about 6cm x 3cm. Lay this out on some card and paint it yellow. This will be for the centre of your water lily.
Leave the petals to dry out a bit. Peel your petals off the card before they’re completely dry so they don’t stick. You can place them onto another piece while they finish drying.
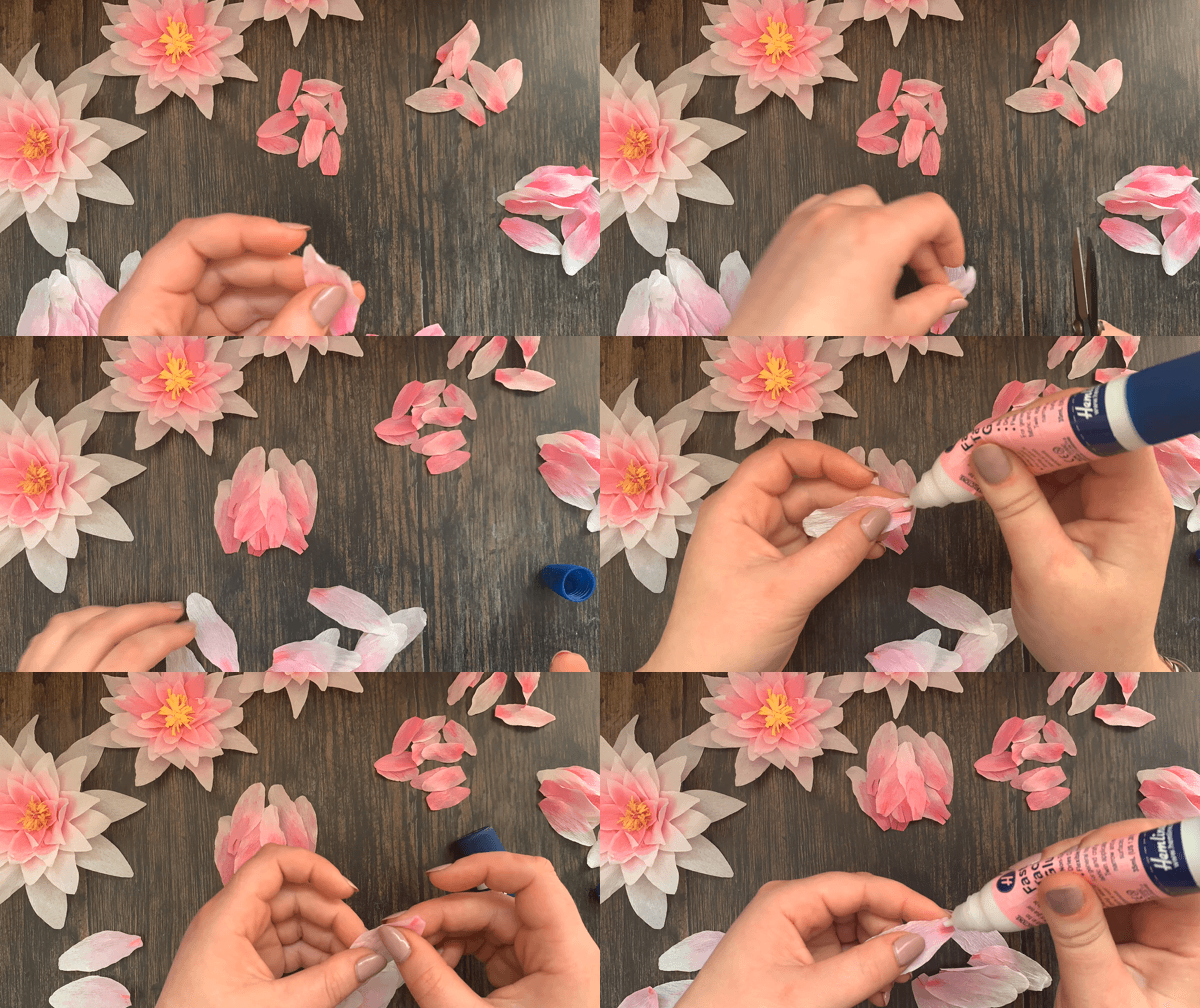
Once your petals are completely dry, cut a small slit in the base of each one. Then put a tiny amount of glue onto one side of the cut and pull the other side of the cut over to cover it. This will give your petals shape and a natural crease towards the bottom of each one.
Next cut out a small piece of card that measures approximately 1cm x 2cm. Roll it up tight and dip one end of it into some strong pink watercolour paint.
Take your piece of yellow paper and make lots of parallel cuts about 3/4 of the way down. The more cuts you make the fluffier the centre will look. Roll the yellow paper around your rolled up card so that the fringe is free at the top. Once you get to the end of your yellow paper add a few small dabs of glue to stick it to itself. Let this dry a bit and then trim a bit of the solid base. If the fringe seems too long you can also trim it down.
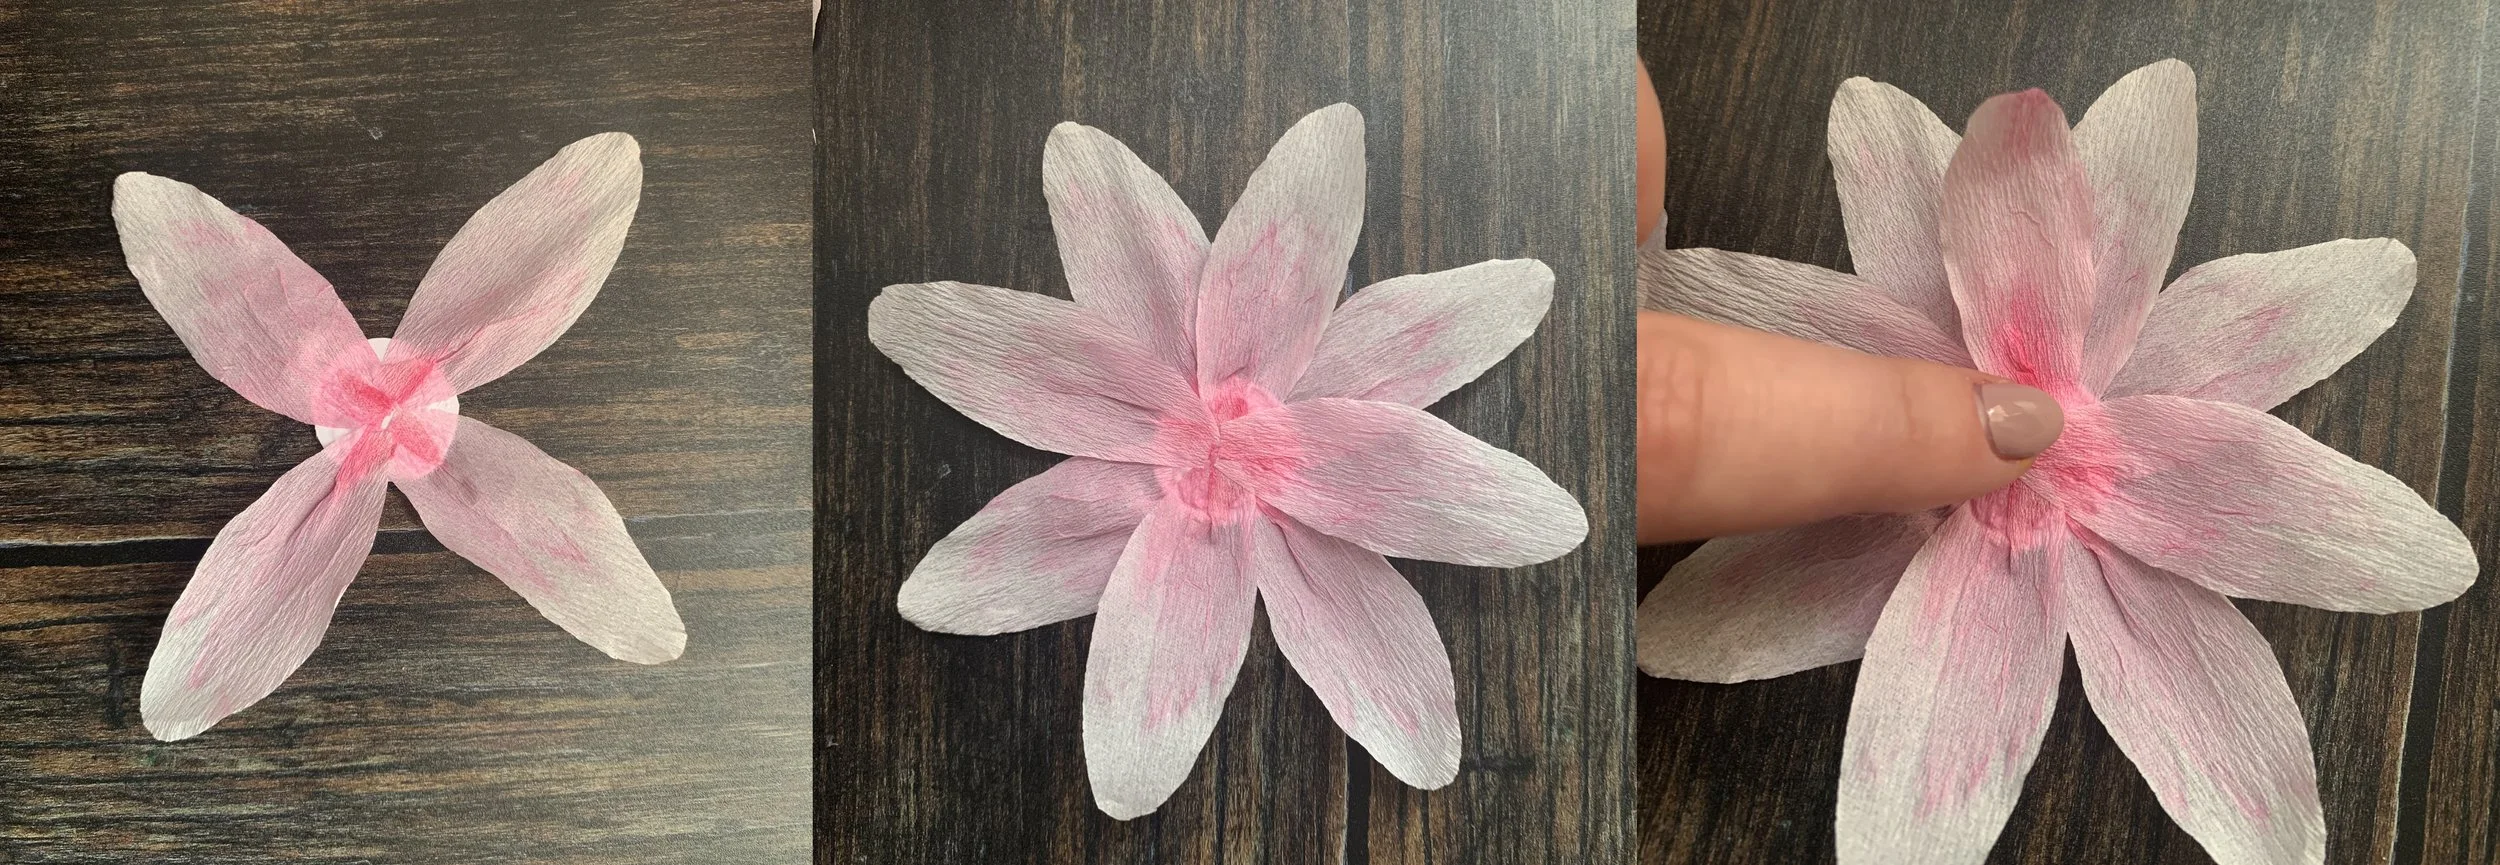
Cut out a small circle of card with a diameter of roughly 2 or 3cm. Starting with the largest petals, glue down four petals onto your circle of card as pictured below. Then glue down four more so that they sit inbetween each of the previous petals. Then move on to the next size down. Glue four more petals so they’re sitting inbetween where your previous petals were placed. Keep doing this with 8 of each petal size.
Once you've glue down all of your petals your water lily should look like this..
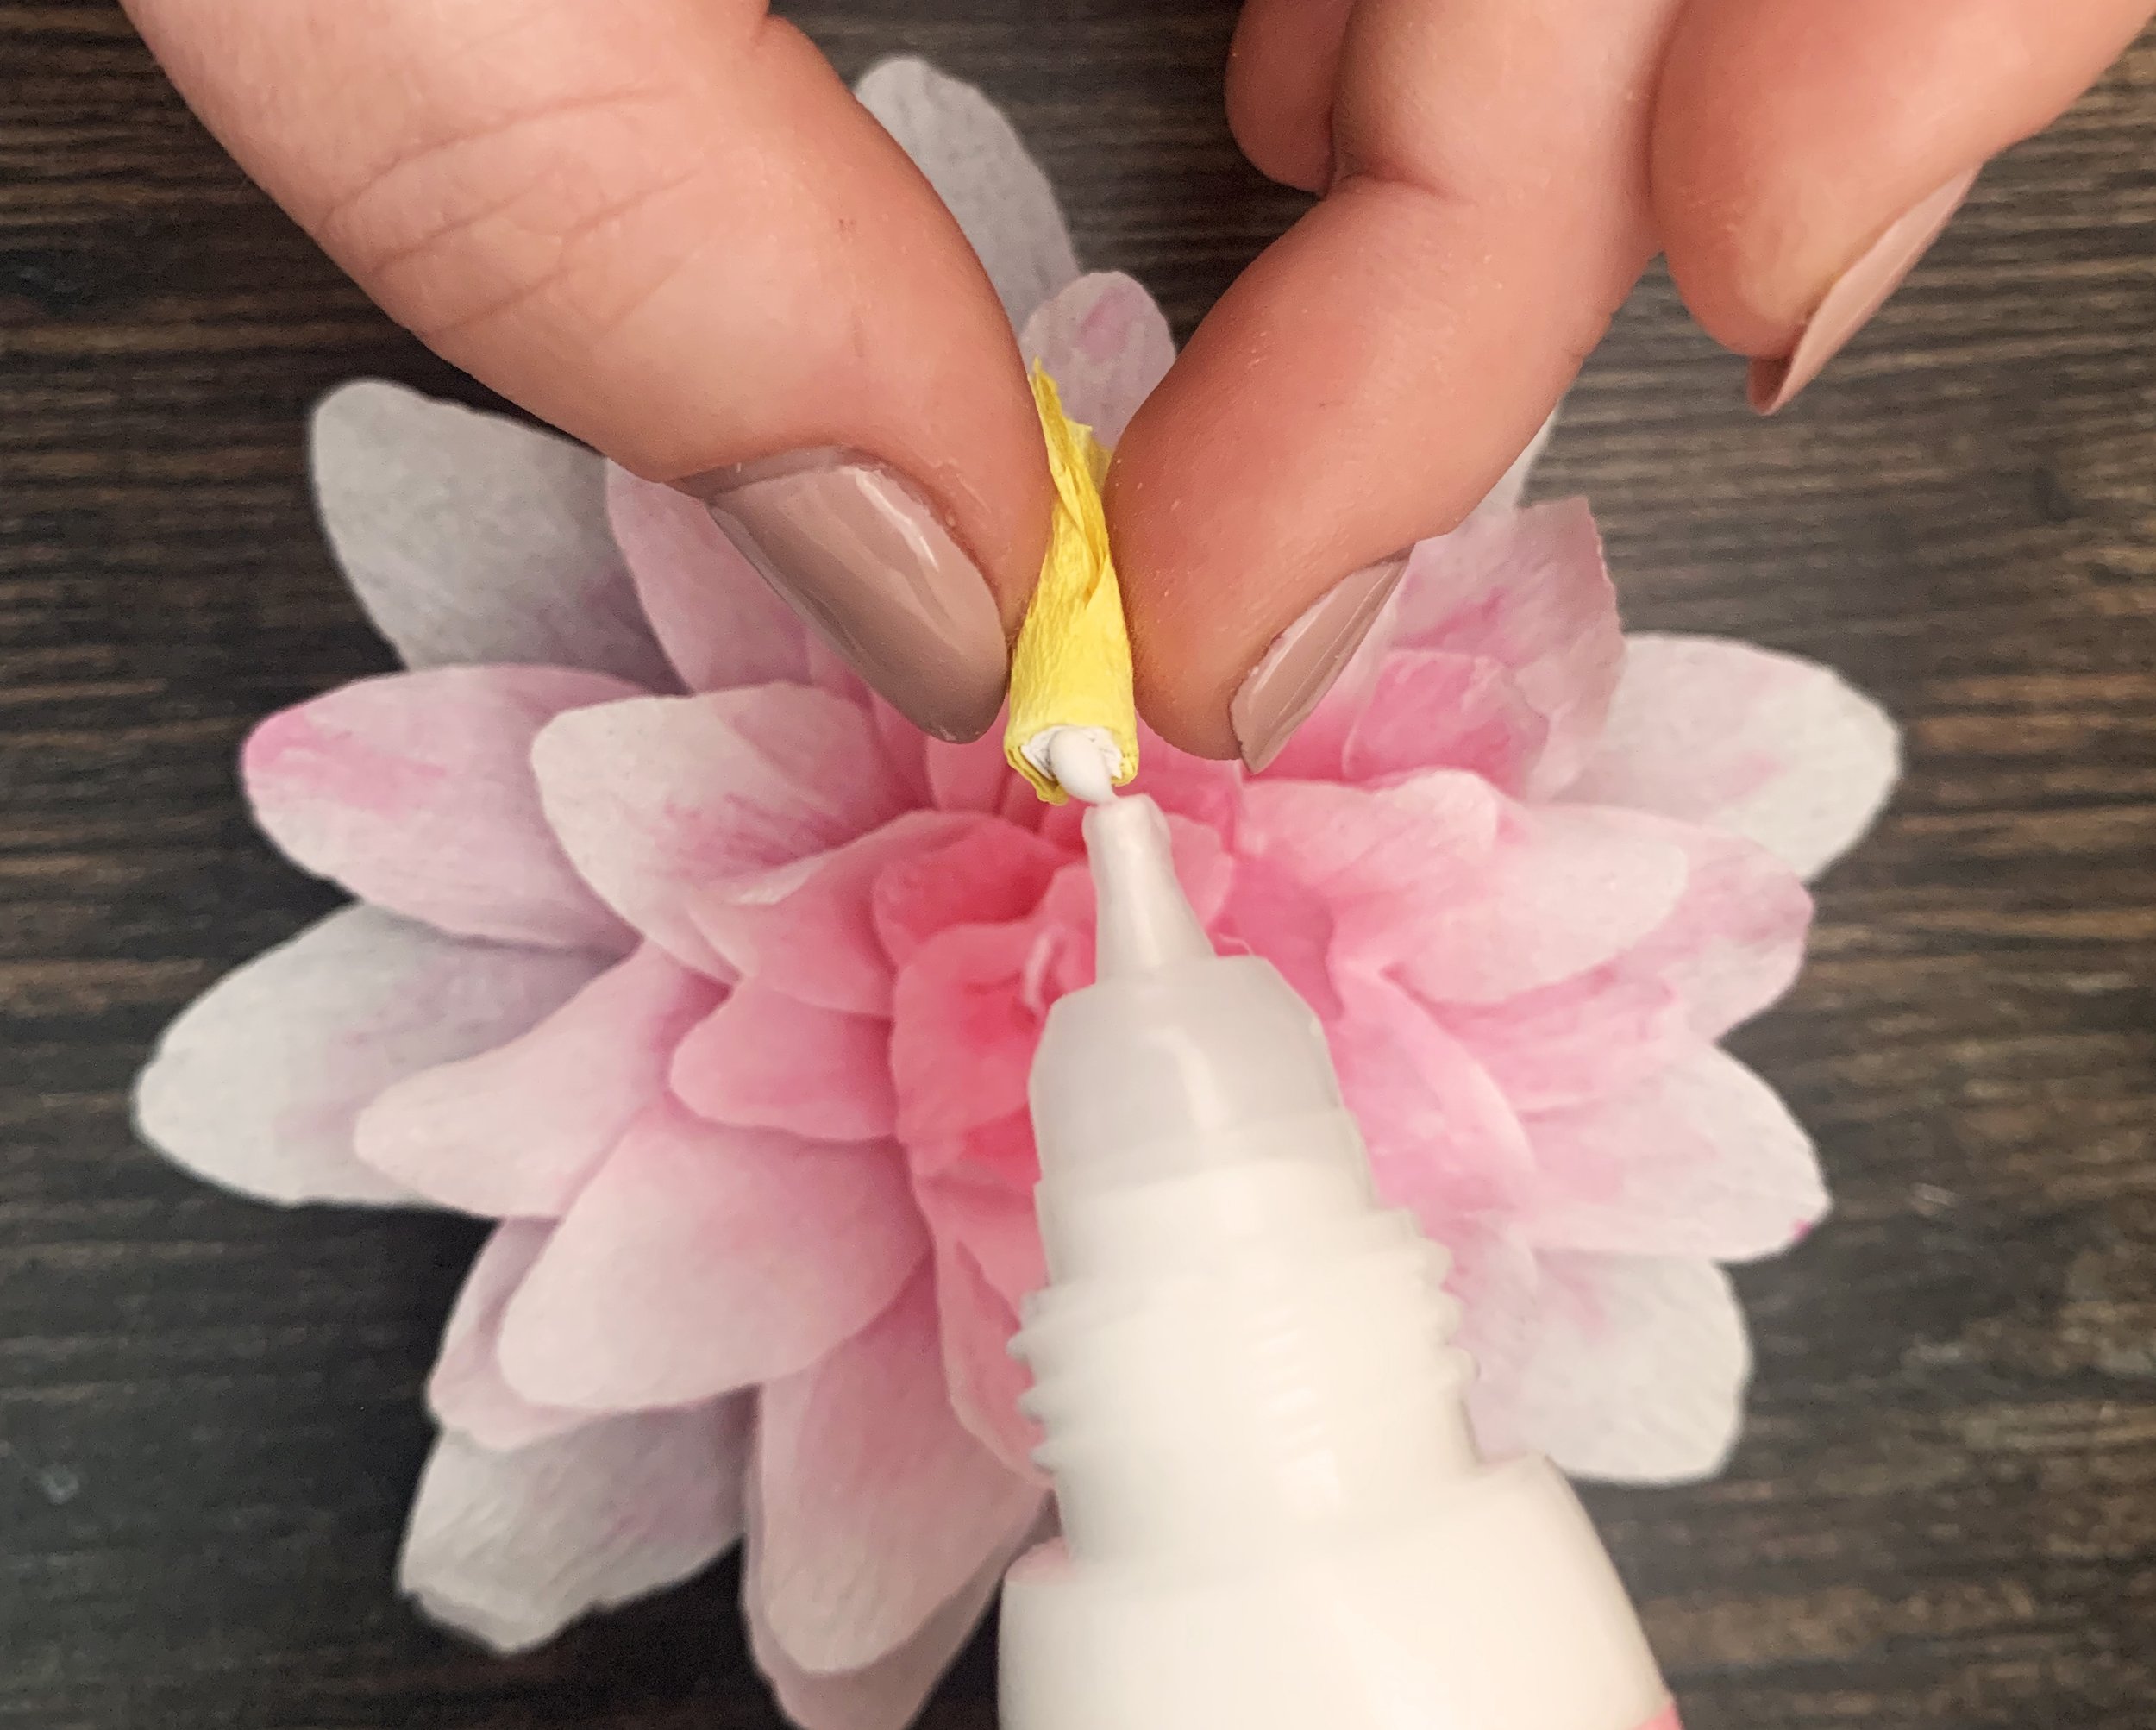
Then add a small amount of glue to the bottom of your yellow centre and stick it into the middle of your petals. Leave your water lily to dry for a few hours as the glue can stay tacky for a while.
I hope you enjoyed making these water lilies as much as we did. We love to see your finished projects so do tag us on Instagram at @craftpod_
Love, Immi & Jo x


